Data Annotation
LiDAR and Point Cloud Annotation at Scale: What Breaks First
Sensor calibration drifts, objects vanish behind a truck for 40 frames, and two annotators disagree about where the boot of a car ends. A practical look at the failure modes that actually slow down 3D annotation programmes.
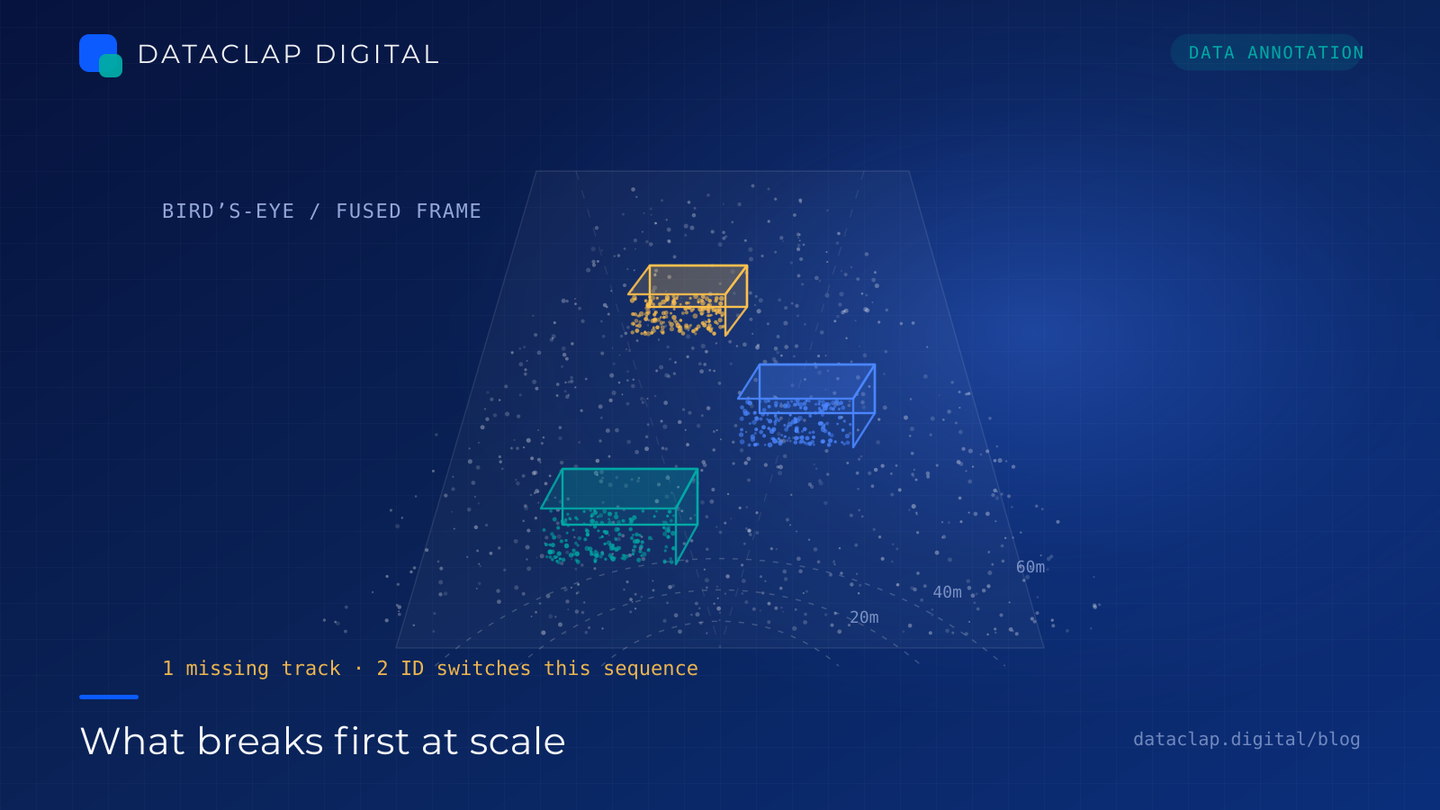
Ask a team what they expect to be hard about 3D annotation and they will usually say "drawing the boxes." Drawing the boxes is the easy part. Everything that surrounding the boxes is where programmes go sideways.
I have reviewed enough point cloud datasets to have a fairly stable list of what breaks first, and it is almost never the thing the project plan anticipated. Here is the list, roughly in the order it shows up.
1. Calibration drift between sensors
Your image is annotated against a LiDAR frame is annotated against a radar return, and the three need to agree. When extrinsic calibration is even slightly off, a box that looks correct in the point cloud sits visibly wrong in the camera image. Annotators then split into two camps—the ones boxing to the image and the ones boxing to the point cloud—and now every label is inconsistent in a way that no amount of QA sampling will reveal, because both camps are internally consistent.
Symptoms: systematic offset of a few pixels to tens of pixels between modalities; fusion labels that look fine in 3D but wrong in 2D; disagreement spikes on small objects (pedestrians, cones) at mid-range.
What to do: verify calibration on every capture rig, on a schedule, with a held-out target rather than trusting the original calibration file. Keep a calibration quality check as part of ingest, and reject or re-calibrate batches that fail. If you are fusing, decide explicitly which modality is the source of truth for box placement, and write it into the guideline.
2. Occlusion and truncated objects
A pedestrian visible for three frames before disappearing behind a parked van is a labelling decision nobody enjoys. Do you box the visible portion? Do you extend the box and infer the full extent? Do you drop the frame?
The rule matters less than having one. Left undefined, a dataset will contain both "tight box on visible points only" and "estimated full extent" for the same object class, and a model trained on that mixture learns to be uncertain about object extent—which is exactly what you need it to be good at.
What to do: define minimum visible-point counts per class (I have seen thresholds between 1 and 15 points used well, and it should depend on class and range). Define the truncation rule explicitly. For tracking, define whether a track ends when the object is occluded or persists through it.
3. The range cliff
Annotation quality decays with distance, in every dataset I have measured. A car at 10 metres has hundreds of points and a crisp silhouette. The same car at 70 metres may be eight points and a guess. If your QA samples globally, that degradation hides inside a healthy average.
What to do: slice quality metrics by distance band—0–20m, 20–40m, 40–70m, 70m+. Accept that far-range accuracy is lower and decide whether it matters for the downstream task. For perception systems that care about long-range detection, budget review effort disproportionately there. Box tolerances should loosen with range, and your metrics should reflect that rather than pretending a uniform tolerance applies.
4. Tracking continuity and ID switches
If your data has tracks, ID consistency is where silent corruption lives. Two annotators can both produce geometrically perfect boxes and still disagree on track identity: does the same ID continue through a brief occluded gap, or does the object re-acquire as a new track?
What to do: set a minimum overlap (IoU) for a track to continue, and a maximum occlusion gap (in frames or seconds) before a track is terminated. Log ID switches as a metric. Automated consistency checks—velocity continuity, size continuity, sudden position jumps—catch most switches before a human sees them. This is one of the few places where an automated pre-check saves real money.
5. Class boundaries that were never written down
"Vehicle" seems simple until you count the things on a road. Are delivery vans a vehicle or a truck? Is a car with a trailer one object or two? Is a parked car attended by a person "parked" or "standing"? What about a mobility scooter—pedestrian, vehicle, or its own class?
These disputes are the number-one consumer of QA time in 3D programmes, and they are cheap to fix. Run a taxonomy workshop with the client before annotation, with a documented decision for every boundary case the domain experts can imagine. Keep a living log. Every new ambiguity adds a line, with a date.
6. 3D QA is not 2D QA
Reviewing a 3D box is slower and harder to systematise than an image box. You can't eyeball twenty at once. In practice, good 3D QA combines:
- Automated geometric checks — box dimensions outside class norms, ground-plane violations, boxes floating above the road, impossible velocities
- Statistical sampling by slice — distance, weather, time of day, point density, object class
- Expert visual review of the slice that the automated checks flagged, plus a random sample of the ones they didn't
The automated layer is what lets a fixed human review budget cover a dataset that would otherwise need ten times the reviewers.
Budget in objects, not frames
The single biggest cost lever in 3D projects is deciding which frames deserve annotation at all. Annotating every frame of an 80,000-frame sequence is usually waste: consecutive frames at 10Hz contain almost the same information.
Two approaches that work:
- Keyframe annotation plus interpolation. Label keyframes, interpolate between them, then have a human verify the interpolated span. Where interpolation is good, you save most of the effort; where it fails (fast motion, occlusion, deformation), you fall back to manual.
- Scenario-based selection. Define the scenarios your model must handle—unprotected left turn, pedestrian emerging between parked cars, rain at dusk—and sample frames that contain them. This aligns spend with task performance instead of with sequence length.
Whatever you choose, write down a definition of a "useful frame" and measure annotated-frame yield against it.
When auto-labelling helps and when it lies
Pre-labelling with a detector or an off-the-shelf 3D model can cut cost significantly, but it biases the dataset toward what the model already sees. Rare classes and unusual poses get proposed badly, and annotators may correct with less attention than they'd give a blank frame—a real phenomenon worth controlling for.
Use auto-labelling with a bias-correction plan: hold back a portion of frames for fully manual annotation, and compare quality and class distribution between the pre-labelled and manual portions. If the distributions diverge, your dataset is quietly becoming a mirror of the model you started with.
A pre-project checklist
- Calibration verified per rig, with a documented source of truth for box placement
- Occlusion, truncation, and minimum-visible-point rules written per class
- Range bands defined, with QC metrics reported per band
- Track continuity rules: overlap threshold, maximum gap, ID-switch metric
- Taxonomy boundary cases resolved in writing, with a maintained decision log
- Automated geometric QA plus risk-based human sampling
- A frame-selection strategy, with "useful frame" defined
- A measurable plan for auto-label bias
None of this is glamorous. All of it is the difference between a dataset you can defend in an audit and one that produces a model with a mysterious weakness nobody can trace.
We produce LiDAR and point cloud annotation for ADAS, mapping, geospatial, and robotics programmes, with multi-pass QA and human-in-the-loop review, in an ISO 27001 certified environment.
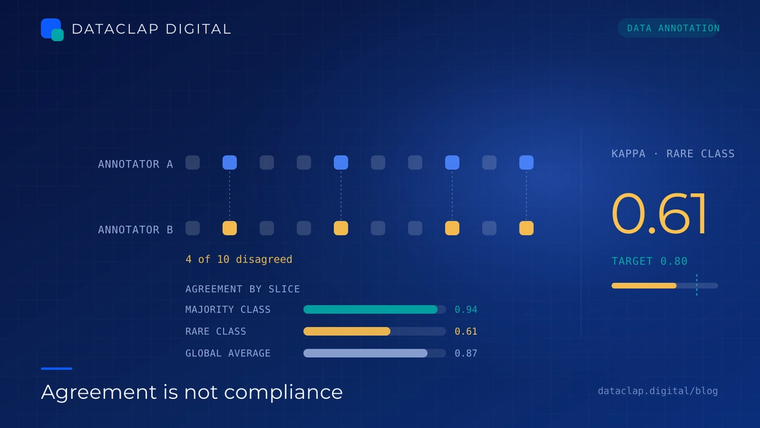
Inter-Annotator Agreement: The Metric Your Dataset Is Quietly Failing
A 98% QA pass rate means almost nothing if two trained annotators label the same image differently. Here is how to measure agreement properly, pick the right statistic, and set gates that stop bad labels before they reach training.
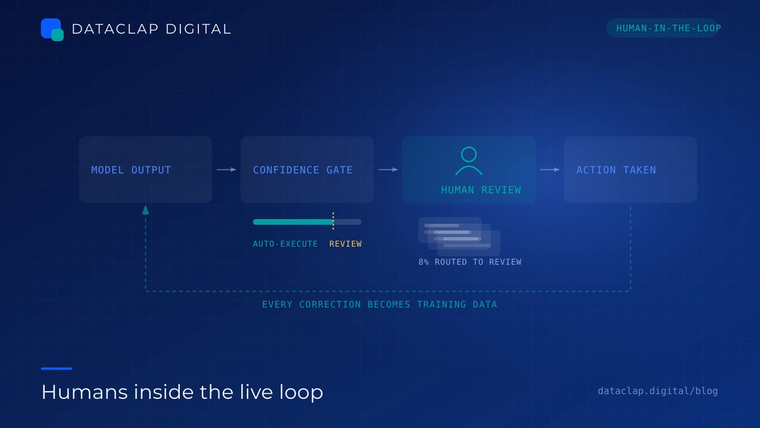
Putting Humans in the Live Loop: Designing Review That Fits Inside a Real SLA
Reviewing training data offline is one job. Putting a person between an AI's prediction and a real-world action is another. Here is how to design live human review that improves outcomes without becoming the bottleneck it was meant to remove.
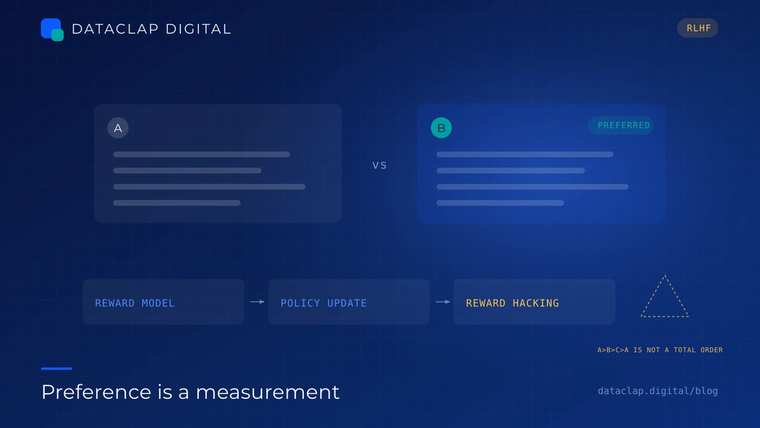
Preference Data Is Not a Ranking Problem
If you collect comparisons the way you collect labels, your reward model will learn your annotators' habits instead of your users' preferences. Here is what to change in the collection design before you touch the training loop.